Avoiding Common Mistakes in DIY Damp Remediation
Understanding Damp Issues
Before delving into the DIY solutions, it"s crucial to grasp the different types of damp issues. This knowledge will help you identify the root cause and apply the most suitable remedy.
Condensation Dampness:
Condensation dampness is often the result of poor ventilation and excessive moisture in the air. It manifests as water droplets on windows and walls, usually in bathrooms and kitchens.
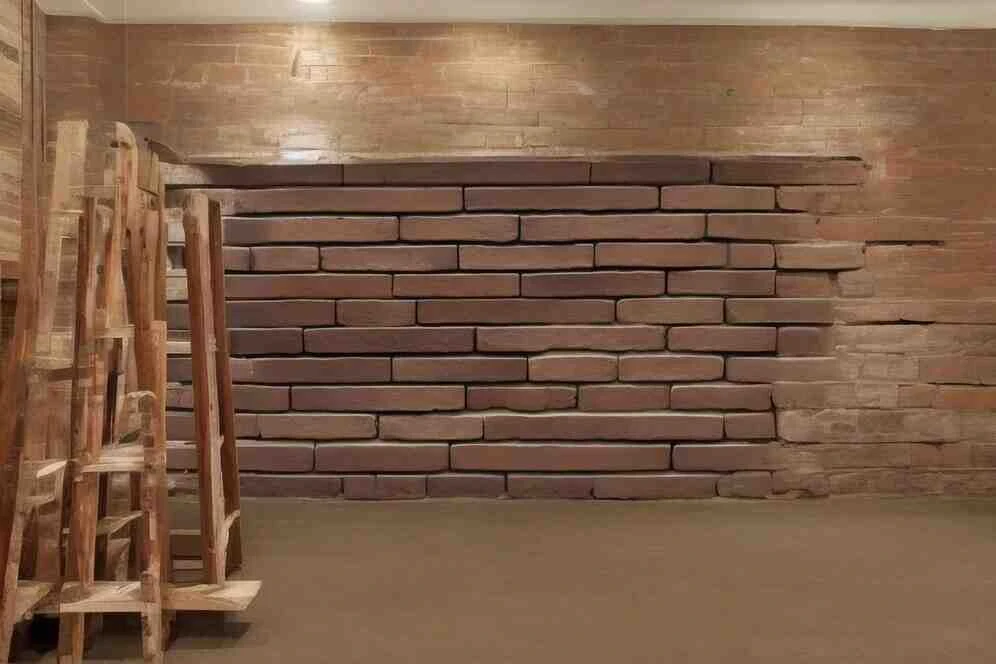
Rising Damp:
Rising damp is caused by water from the ground being drawn up through walls, leaving a characteristic tide mark. It"s commonly found in older properties with faulty damp-proof courses.
Penetrating Damp:
Penetrating damp occurs when water infiltrates the building through damaged or poorly maintained roofing, walls, or windows. It can cause visible patches of dampness and is often localized.
Common Mistakes in DIY Damp Remediation
1. Neglecting the Root Cause
The first and most common mistake in DIY damp remediation is treating the symptoms rather than addressing the root cause. If you don"t identify the source of the dampness, your efforts will be in vain. Remember, understanding the type of damp issue is vital, as each has unique triggers and requires specific solutions.
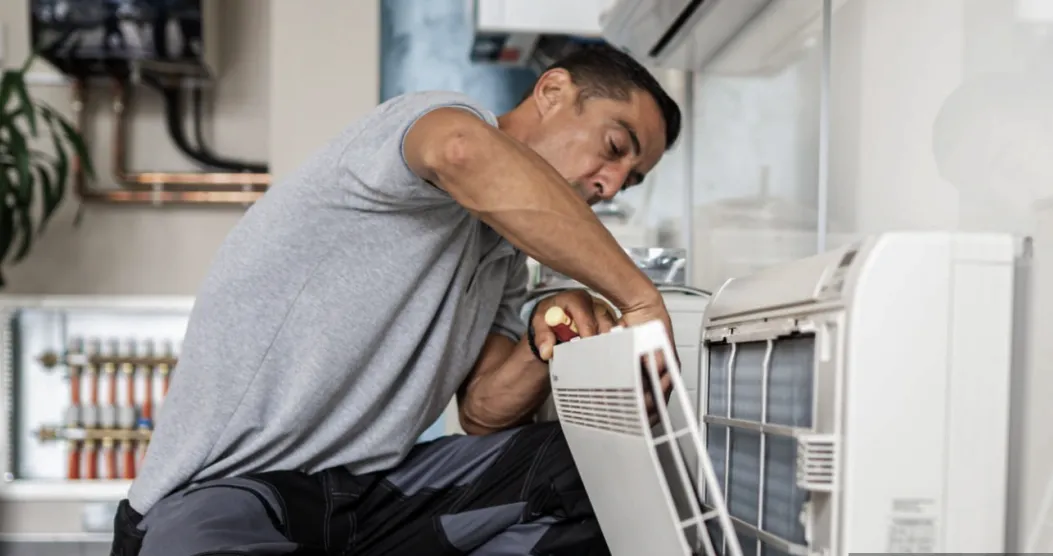
2. Poor Ventilation
Inadequate ventilation is a major contributor to condensation dampness. Many DIY enthusiasts often overlook this aspect. It"s essential to ensure proper airflow throughout your home, especially in high moisture areas. Simple fixes like installing exhaust fans or opening windows can make a significant difference.
3. Using the Wrong Materials
Choosing the wrong materials for damp remediation can lead to inefficiency and even worsen the problem. For instance, using standard paint on damp walls won"t prevent moisture penetration. Always select materials designed for damp environments, such as moisture-resistant paint or anti-mold sealants.
4. Skipping Professional Assessment
While DIY is cost-effective, it"s not always the best solution. Neglecting to seek professional advice and assessment can lead to misdiagnosis and inappropriate solutions. Consulting with a damp specialist can help you identify the exact issue and the most effective treatment.
5. Rushing the Drying Process
Patience is a virtue when dealing with damp problems. Rushing the drying process can result in shoddy work and potential reoccurrence of damp. Allow sufficient time for your remedies to take effect before you consider the problem solved.
6. Ignoring Safety Measures
Some DIY damp remediation methods involve handling chemicals, such as mold-killing agents. Ignoring safety measures can lead to health hazards. Always follow safety guidelines, wear protective gear, and provide adequate ventilation when using chemicals.
DIY Damp Remediation Solutions
Now that we"ve identified common mistakes, let"s explore effective DIY solutions for different types of damp issues.
1. Condensation Dampness:
Improve ventilation by using exhaust fans.
Install a dehumidifier to reduce humidity levels.
Use anti-condensation paint on affected surfaces.
2. Rising Damp:
Repair any damaged damp-proof courses.
Apply a damp-proof membrane to walls.
Replaster affected areas with a waterproof rendering mix.
3. Penetrating Damp:
Identify and repair the source of water infiltration (e.g., damaged roof or leaking pipes).
Seal cracks and gaps in walls, windows, and doors.
Repaint with moisture-resistant paint.
Conclusion
Damp remediation is a critical task for any homeowner, and while the DIY approach can save money, it"s essential to avoid common mistakes that can lead to ineffective solutions or even worsen the issue. By understanding the type of damp problem you"re dealing with and following the correct remediation steps, you can successfully tackle dampness in your home. Always remember that for more complex issues, consulting with a professional is a wise decision to ensure your home remains dry and comfortable. So, roll up your sleeves, put on your safety gear, and get ready to banish damp from your home with confidence.