Techniques for Installing a Picture-Perfect Picket Fence
1. Planning and Preparation
Before diving into the installation process, thorough planning and preparation are essential. Here"s what you should consider:
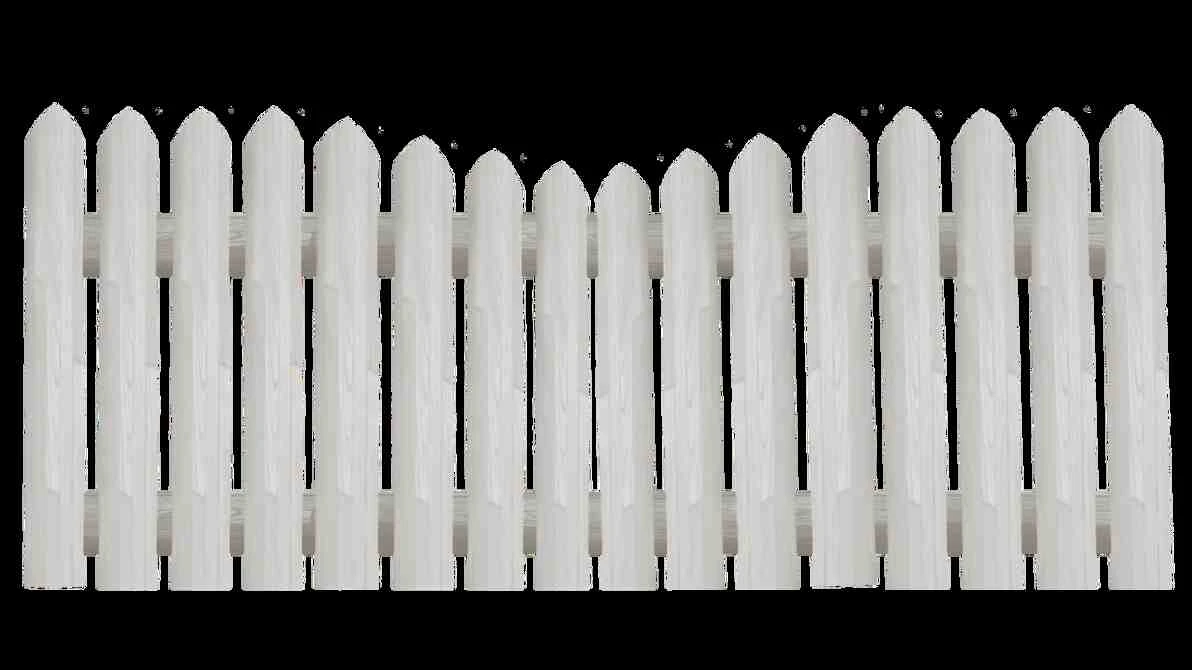
a. Design: Decide on the style, height, and spacing of your picket fence. Common styles include traditional, scalloped, or pointed pickets.
b. Materials: Choose the right materials for your fence. Opt for weather-resistant wood, such as cedar or redwood, for durability. Vinyl and composite materials are also excellent choices for low maintenance.
c. Permits and Regulations: Check with your local municipality to understand any zoning and building regulations regarding fence installation. You may need permits or approvals.
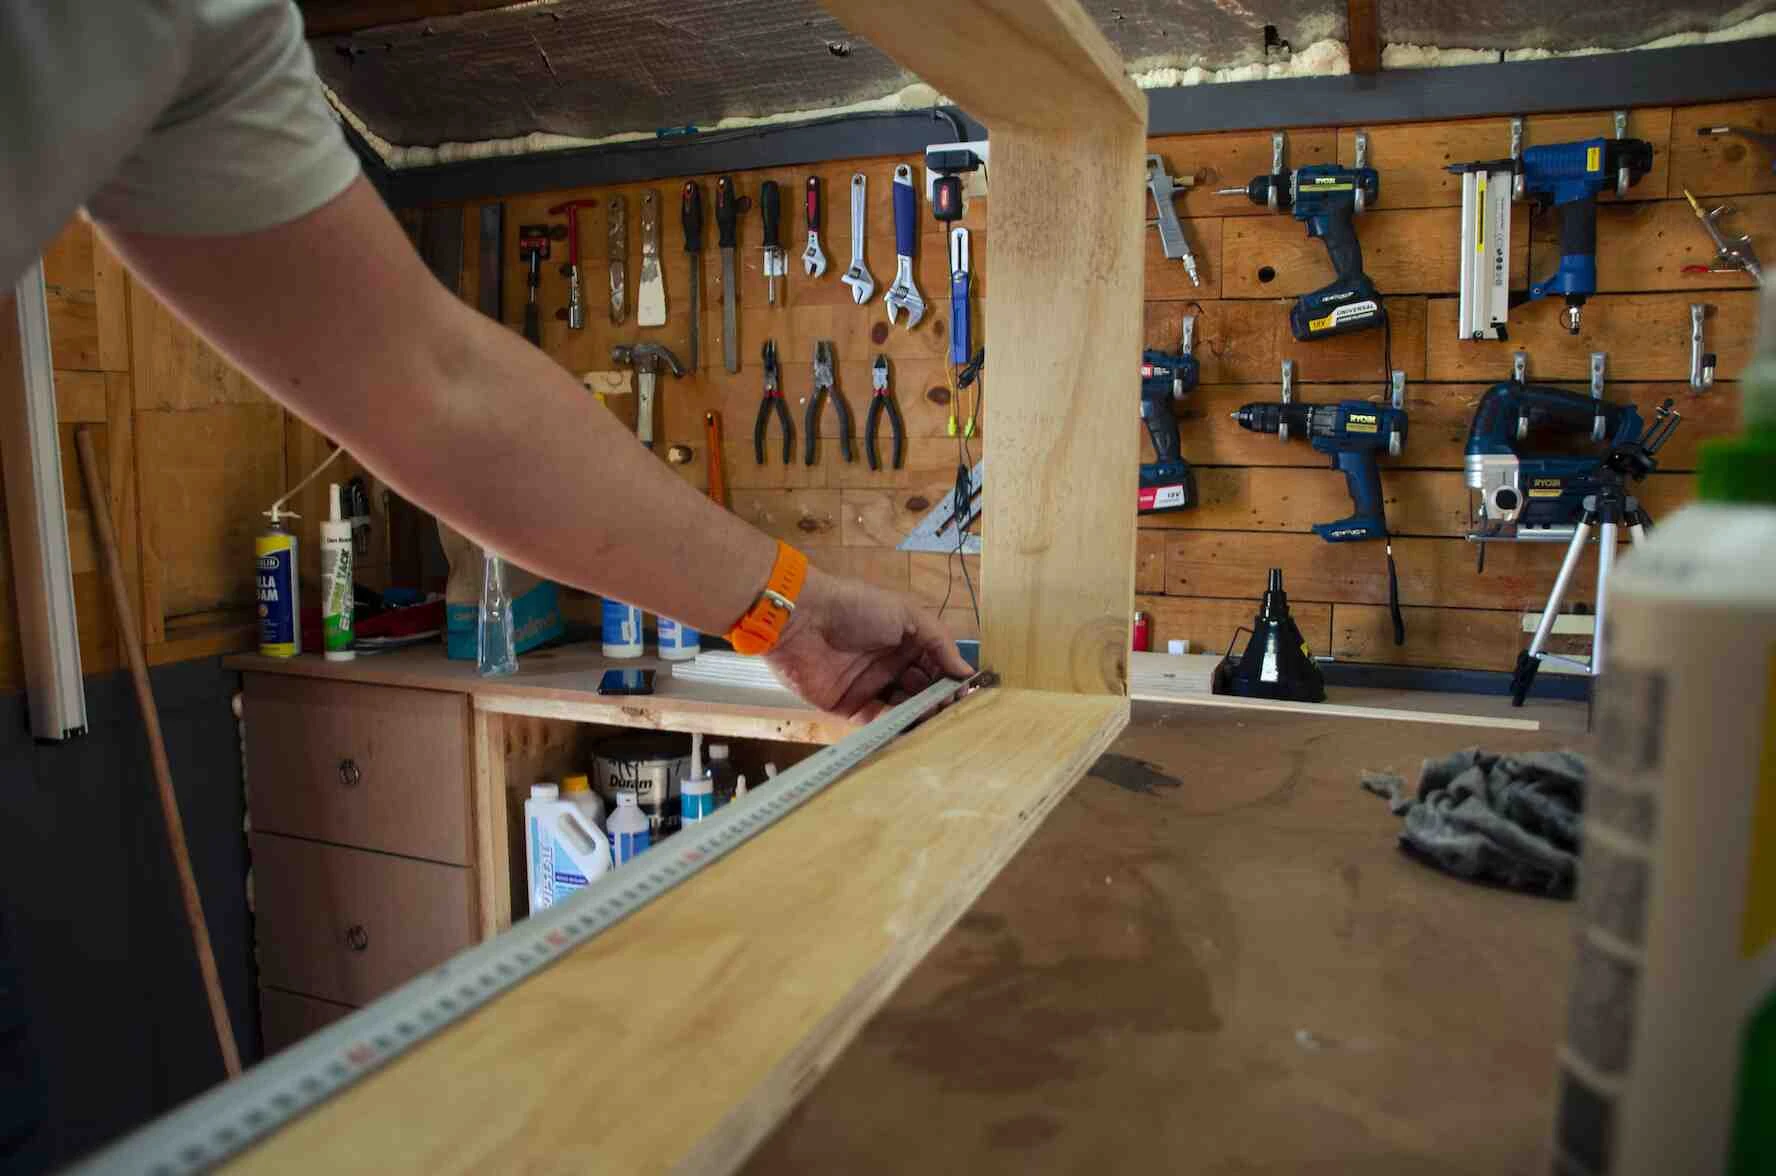
2. Gather Your Tools and Materials
Once you"ve planned your fence, gather the necessary tools and materials. You"ll typically need:
- Fence posts
- Pickets
- Nails or screws
- Post hole digger
- Level
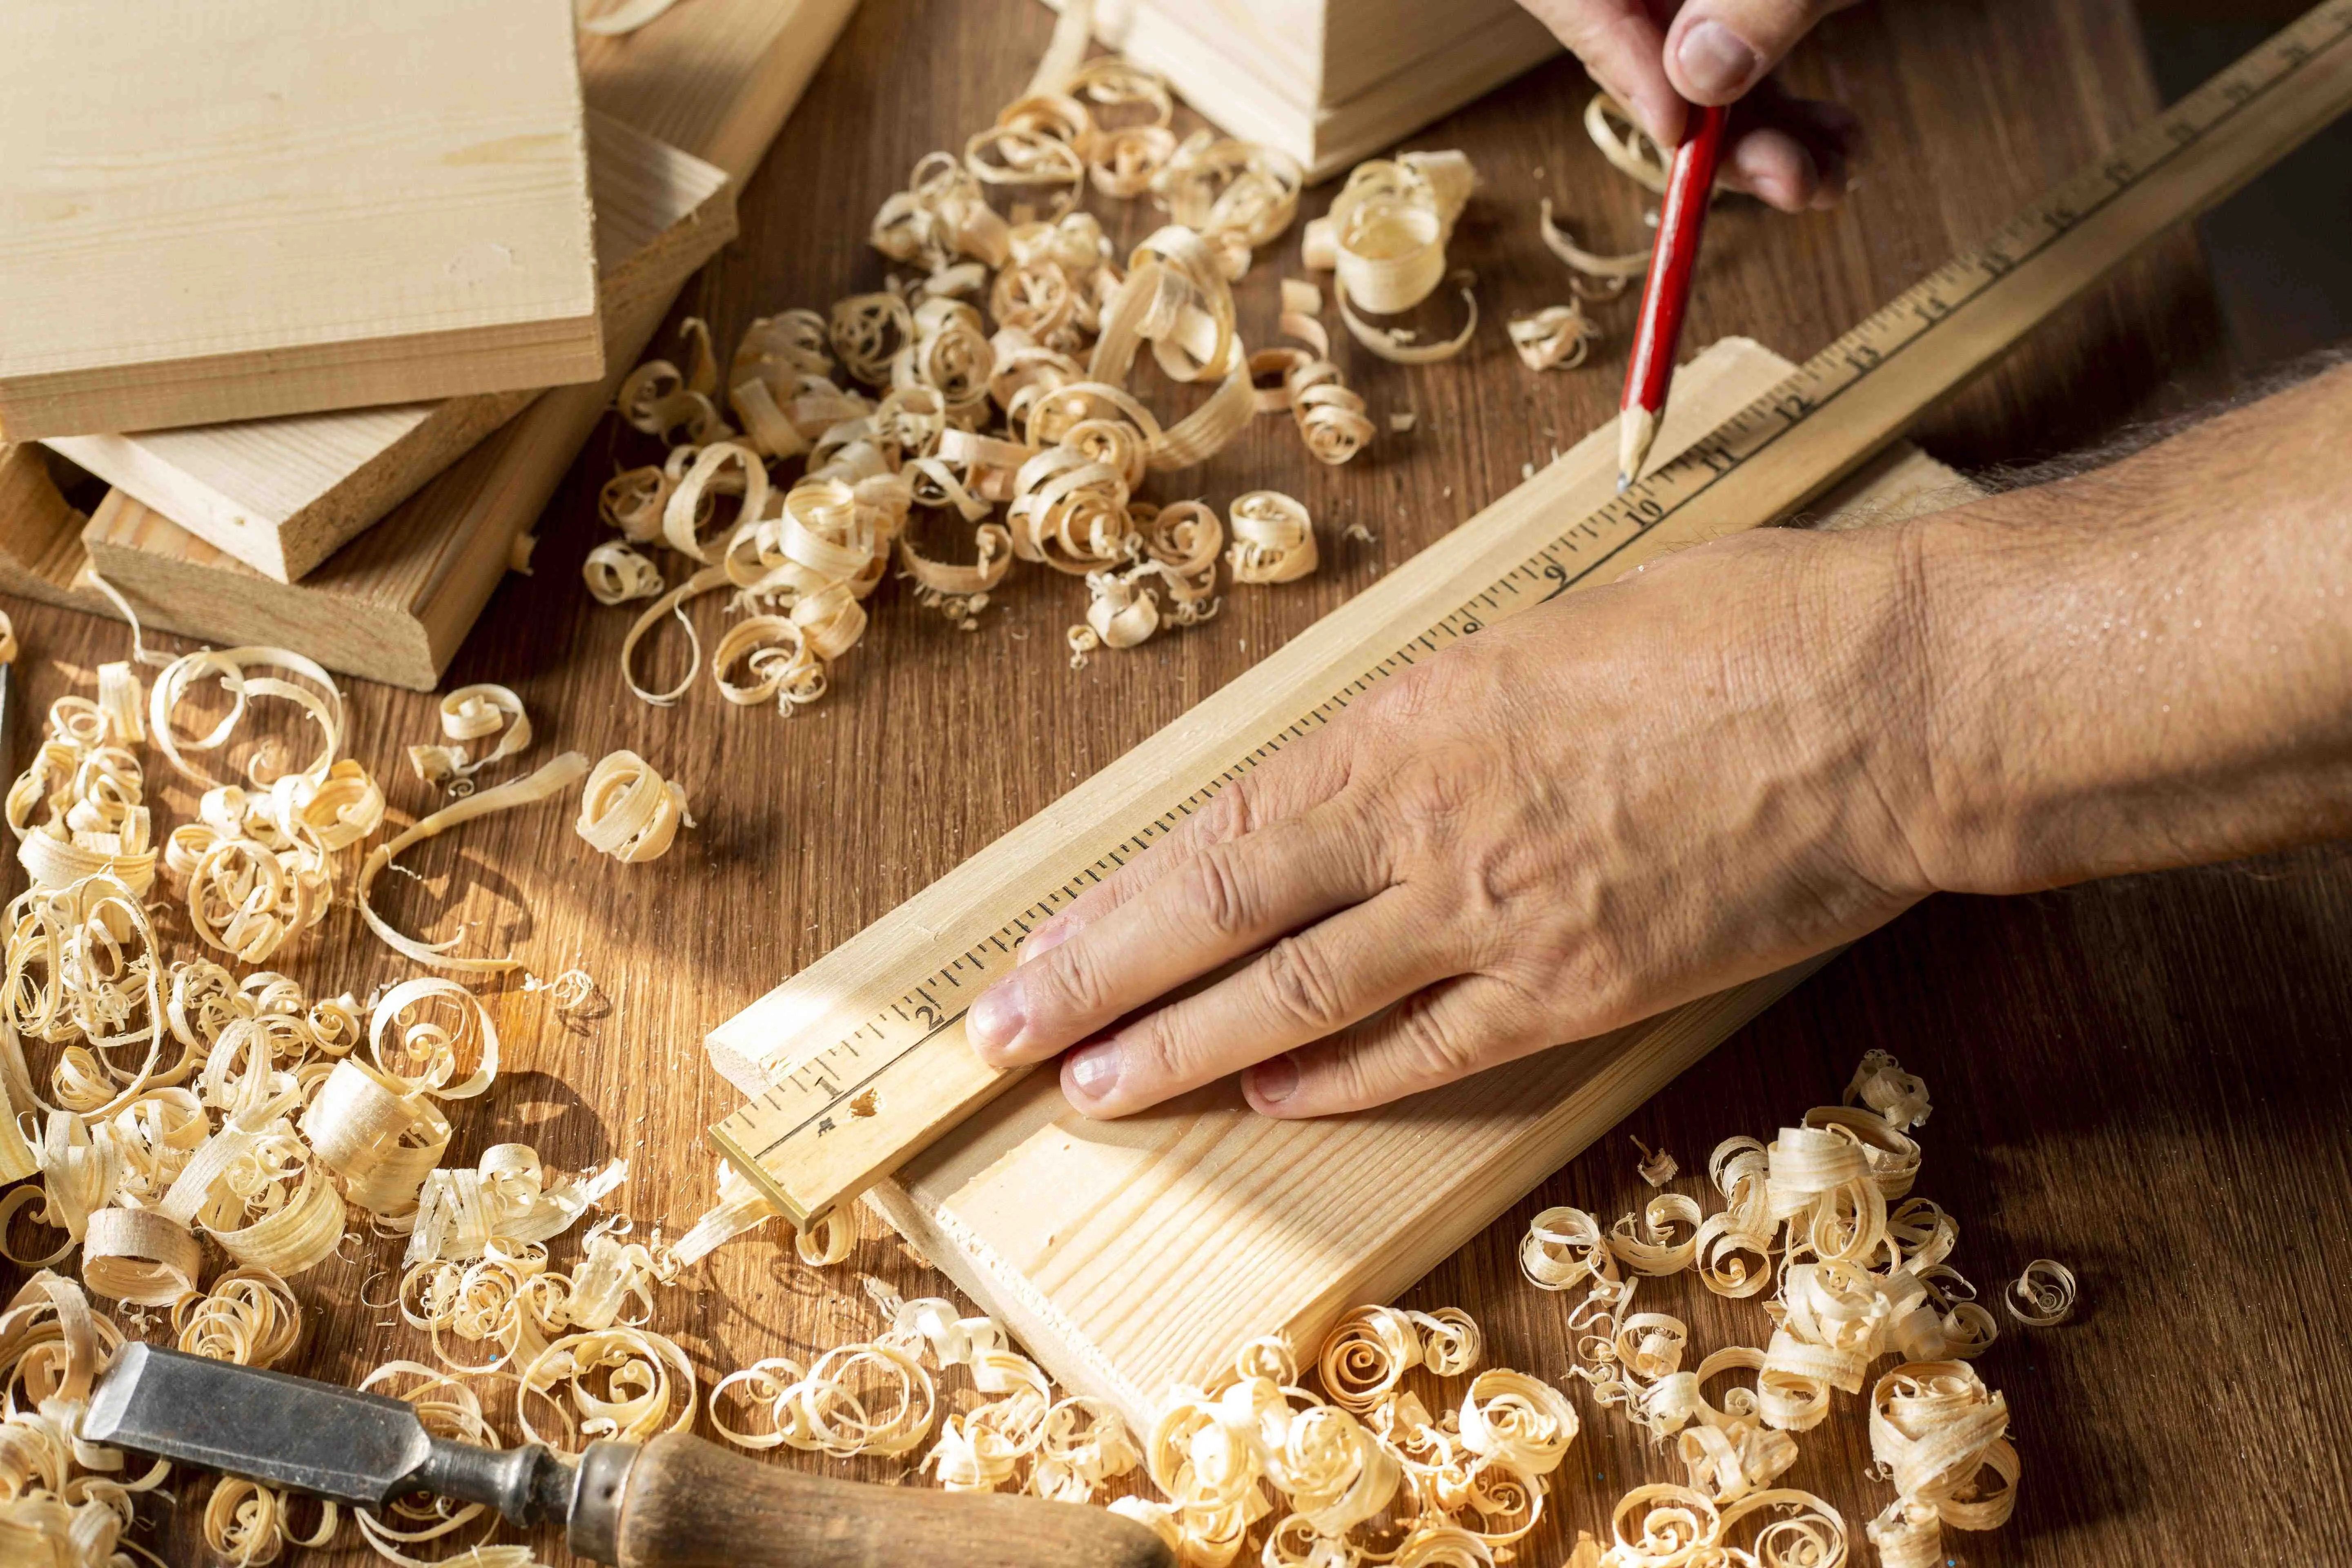
- Measuring tape
- String line
- Shovel
- Concrete mix
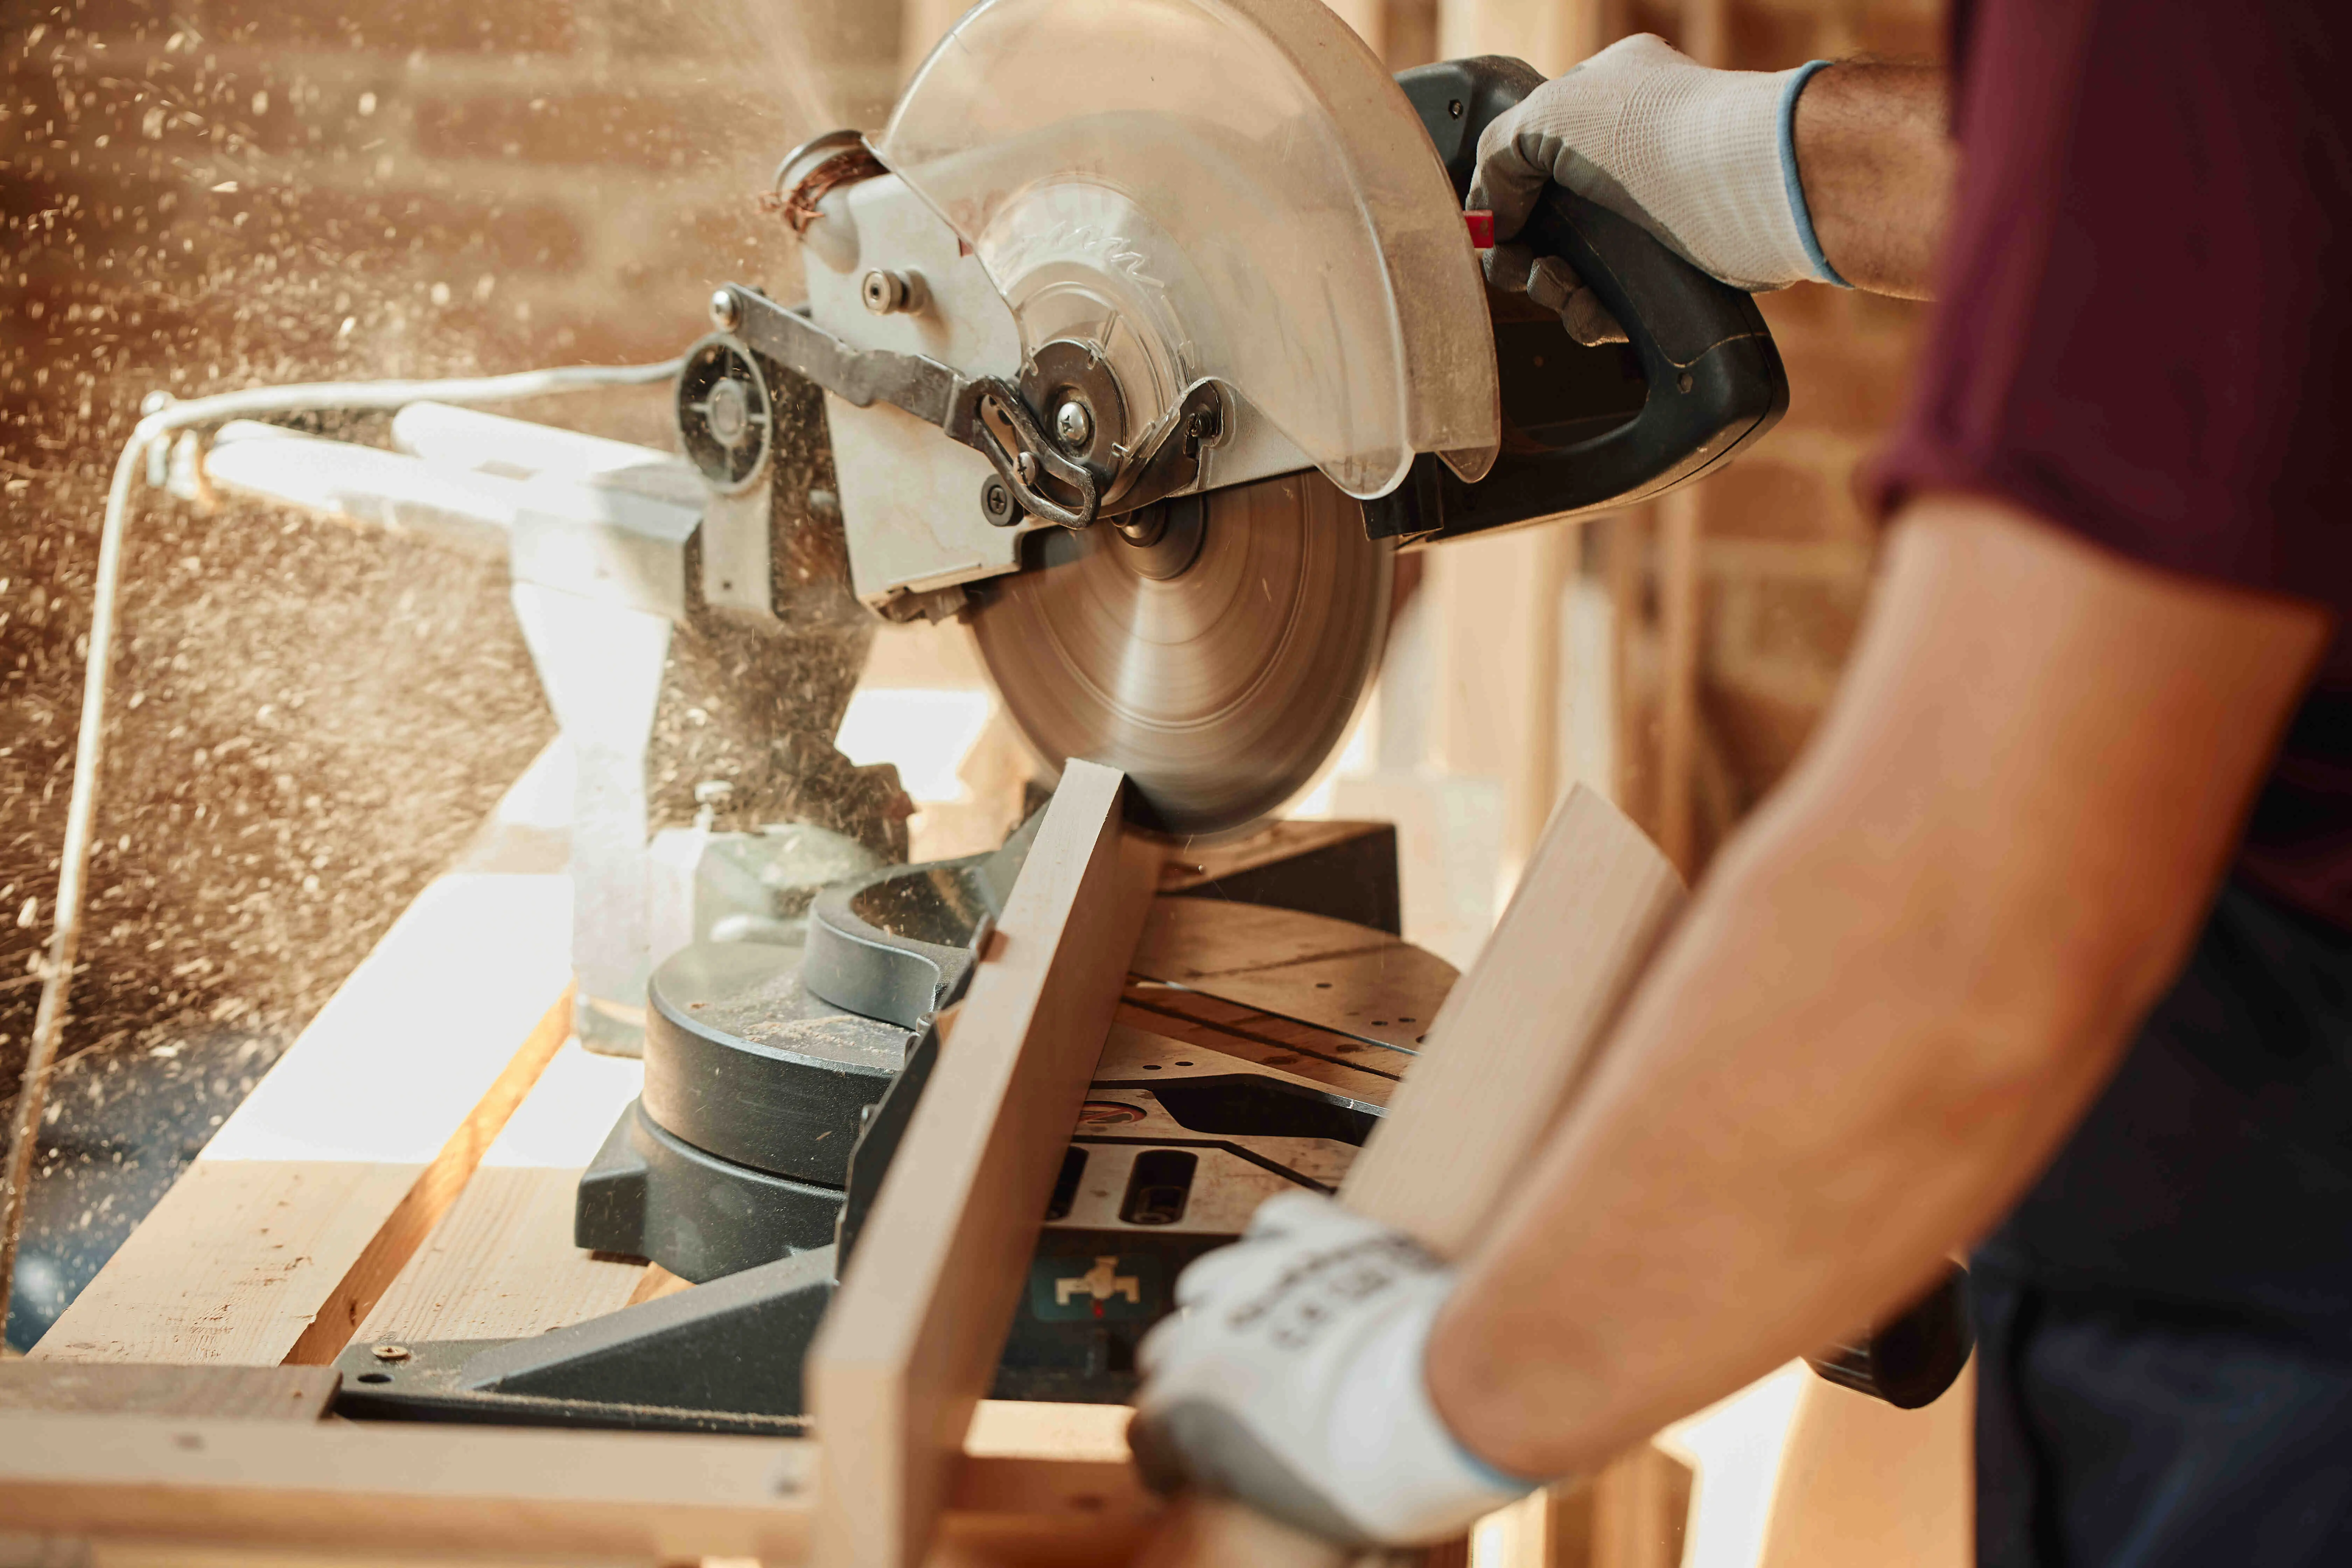
- Saw (for cutting pickets to size)
3. Mark Your Fence Line
Use a measuring tape and stakes to mark the location of your fence line. You can use a string line to ensure your fence is straight and level. This step is crucial for a neat and visually appealing installation.
4. Digging Post Holes
The depth and spacing of your post holes are vital to the stability of your fence. Typically, dig holes at least 1/3 the length of the post and space them 6-8 feet apart, depending on your design. Use a post hole digger to create uniform holes. It"s important to ensure that your posts are level and plumb, so use a level to check as you go.
5. Set Your Posts
Place your fence posts in the holes and secure them with concrete. Make sure they are level and properly aligned with your string line. Allow the concrete to cure as per the manufacturer"s instructions before proceeding.
6. Attach Horizontal Rails
Depending on your fence design, attach horizontal rails to the posts. These rails provide structural support for the pickets. Use a level to ensure they are level and even.
7. Attach Pickets
Now, it"s time to attach the pickets to the horizontal rails. You can space them evenly or leave gaps for a more traditional picket fence look. Make sure they are attached securely to the rails with nails or screws.
8. Finishing Touches
After attaching the pickets, consider adding decorative elements like post caps or paint or stain your fence to protect it from the elements and enhance its appearance. These finishing touches can make a significant difference in the overall look of your fence.
9. Routine Maintenance
To keep your picket fence looking picture-perfect, regular maintenance is key. Check for loose pickets, repair any damage, and reapply paint or stain as needed. This will ensure your fence remains beautiful and functional for years to come.
Conclusion
Installing a picture-perfect picket fence requires careful planning, precise execution, and attention to detail. By following the techniques outlined in this guide and investing time in planning, you can create a fence that enhances your property"s aesthetics, provides security, and adds to your home"s charm. A well-maintained picket fence is not only a practical addition but also a symbol of classic American beauty.


.webp)