Measuring and Cutting Flooring Material with Precision
The Importance of Precision
Before we dive into the nitty-gritty details, let"s take a moment to understand why precision in measuring and cutting flooring material is so crucial. Imagine spending your hard-earned money on top-quality flooring material, only to have a finished product that looks subpar due to poor measurements and sloppy cuts. Precision ensures the following:
Aesthetics: Accurate measurements and precise cuts result in a visually appealing floor that enhances the overall aesthetics of your space. Crooked or uneven cuts can be unsightly and compromise the entire look of a room.
Durability: Properly cut and fitted flooring materials are more durable and less prone to wear and tear. This longevity can save you money in the long run, as you won"t need to replace or repair your flooring prematurely.
Safety: Flooring that fits snugly and securely reduces tripping hazards and minimizes the risk of accidents, making your home a safer place for your family and guests.
Time and Money: Precision can save you both time and money by reducing the likelihood of mistakes that necessitate costly rework or material replacement.
Now that we"ve established the importance of precision, let"s explore the steps involved in measuring and cutting flooring material with utmost accuracy.
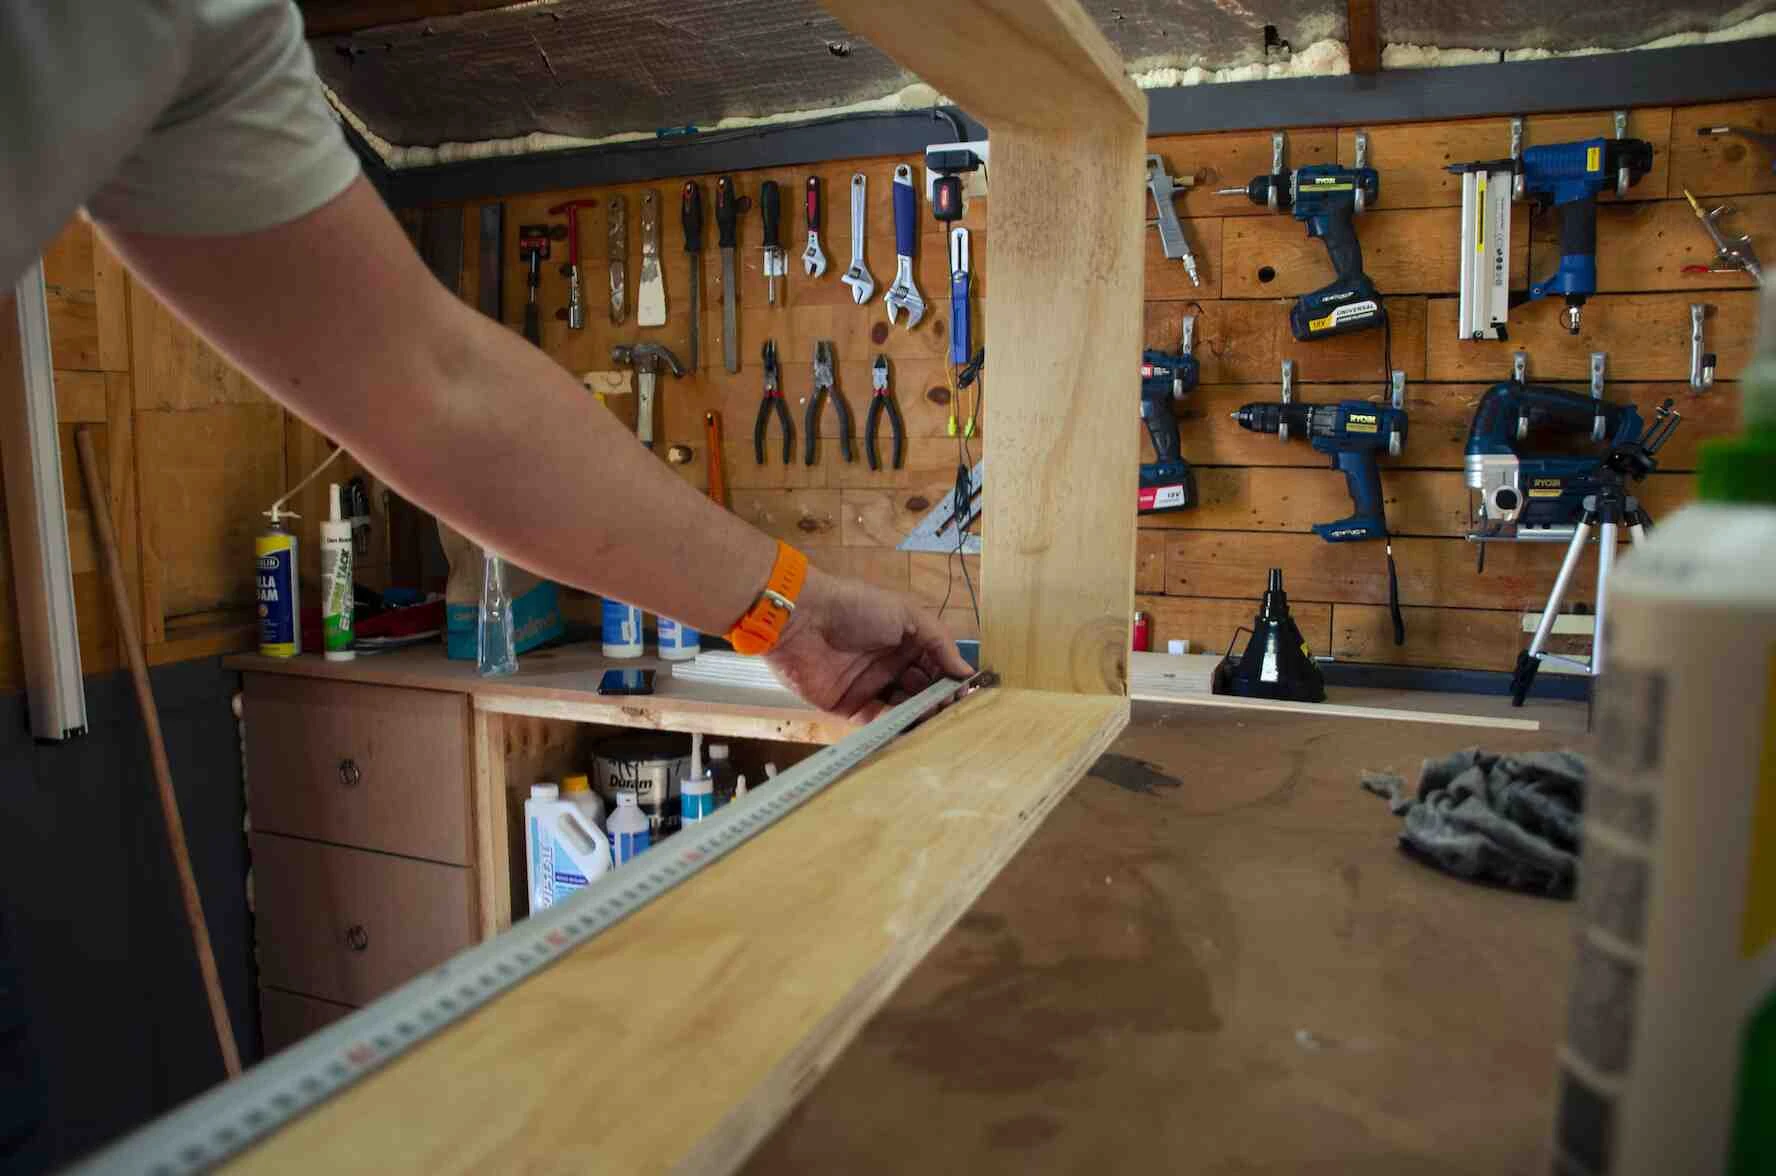
Step 1: Gather Your Tools
Before you begin measuring and cutting, it"s essential to have the right tools on hand. Here"s a list of the most commonly used tools for this job:
Tape Measure: An accurate and reliable tape measure is your primary tool for measuring the dimensions of the space and the flooring material.
Pencil and Chalk Line: Use a pencil to mark measurements and a chalk line to create straight lines for cutting.
Square: A square helps ensure that your cuts are at perfect right angles.
Safety Gear: Don"t forget safety glasses and dust masks to protect your eyes and lungs while cutting.
Cutting Tools: Depending on the type of flooring material, you"ll need a saw, a tile cutter, or a utility knife.
Jigsaw or Circular Saw: These are handy for making curved cuts or cutting through thicker materials.
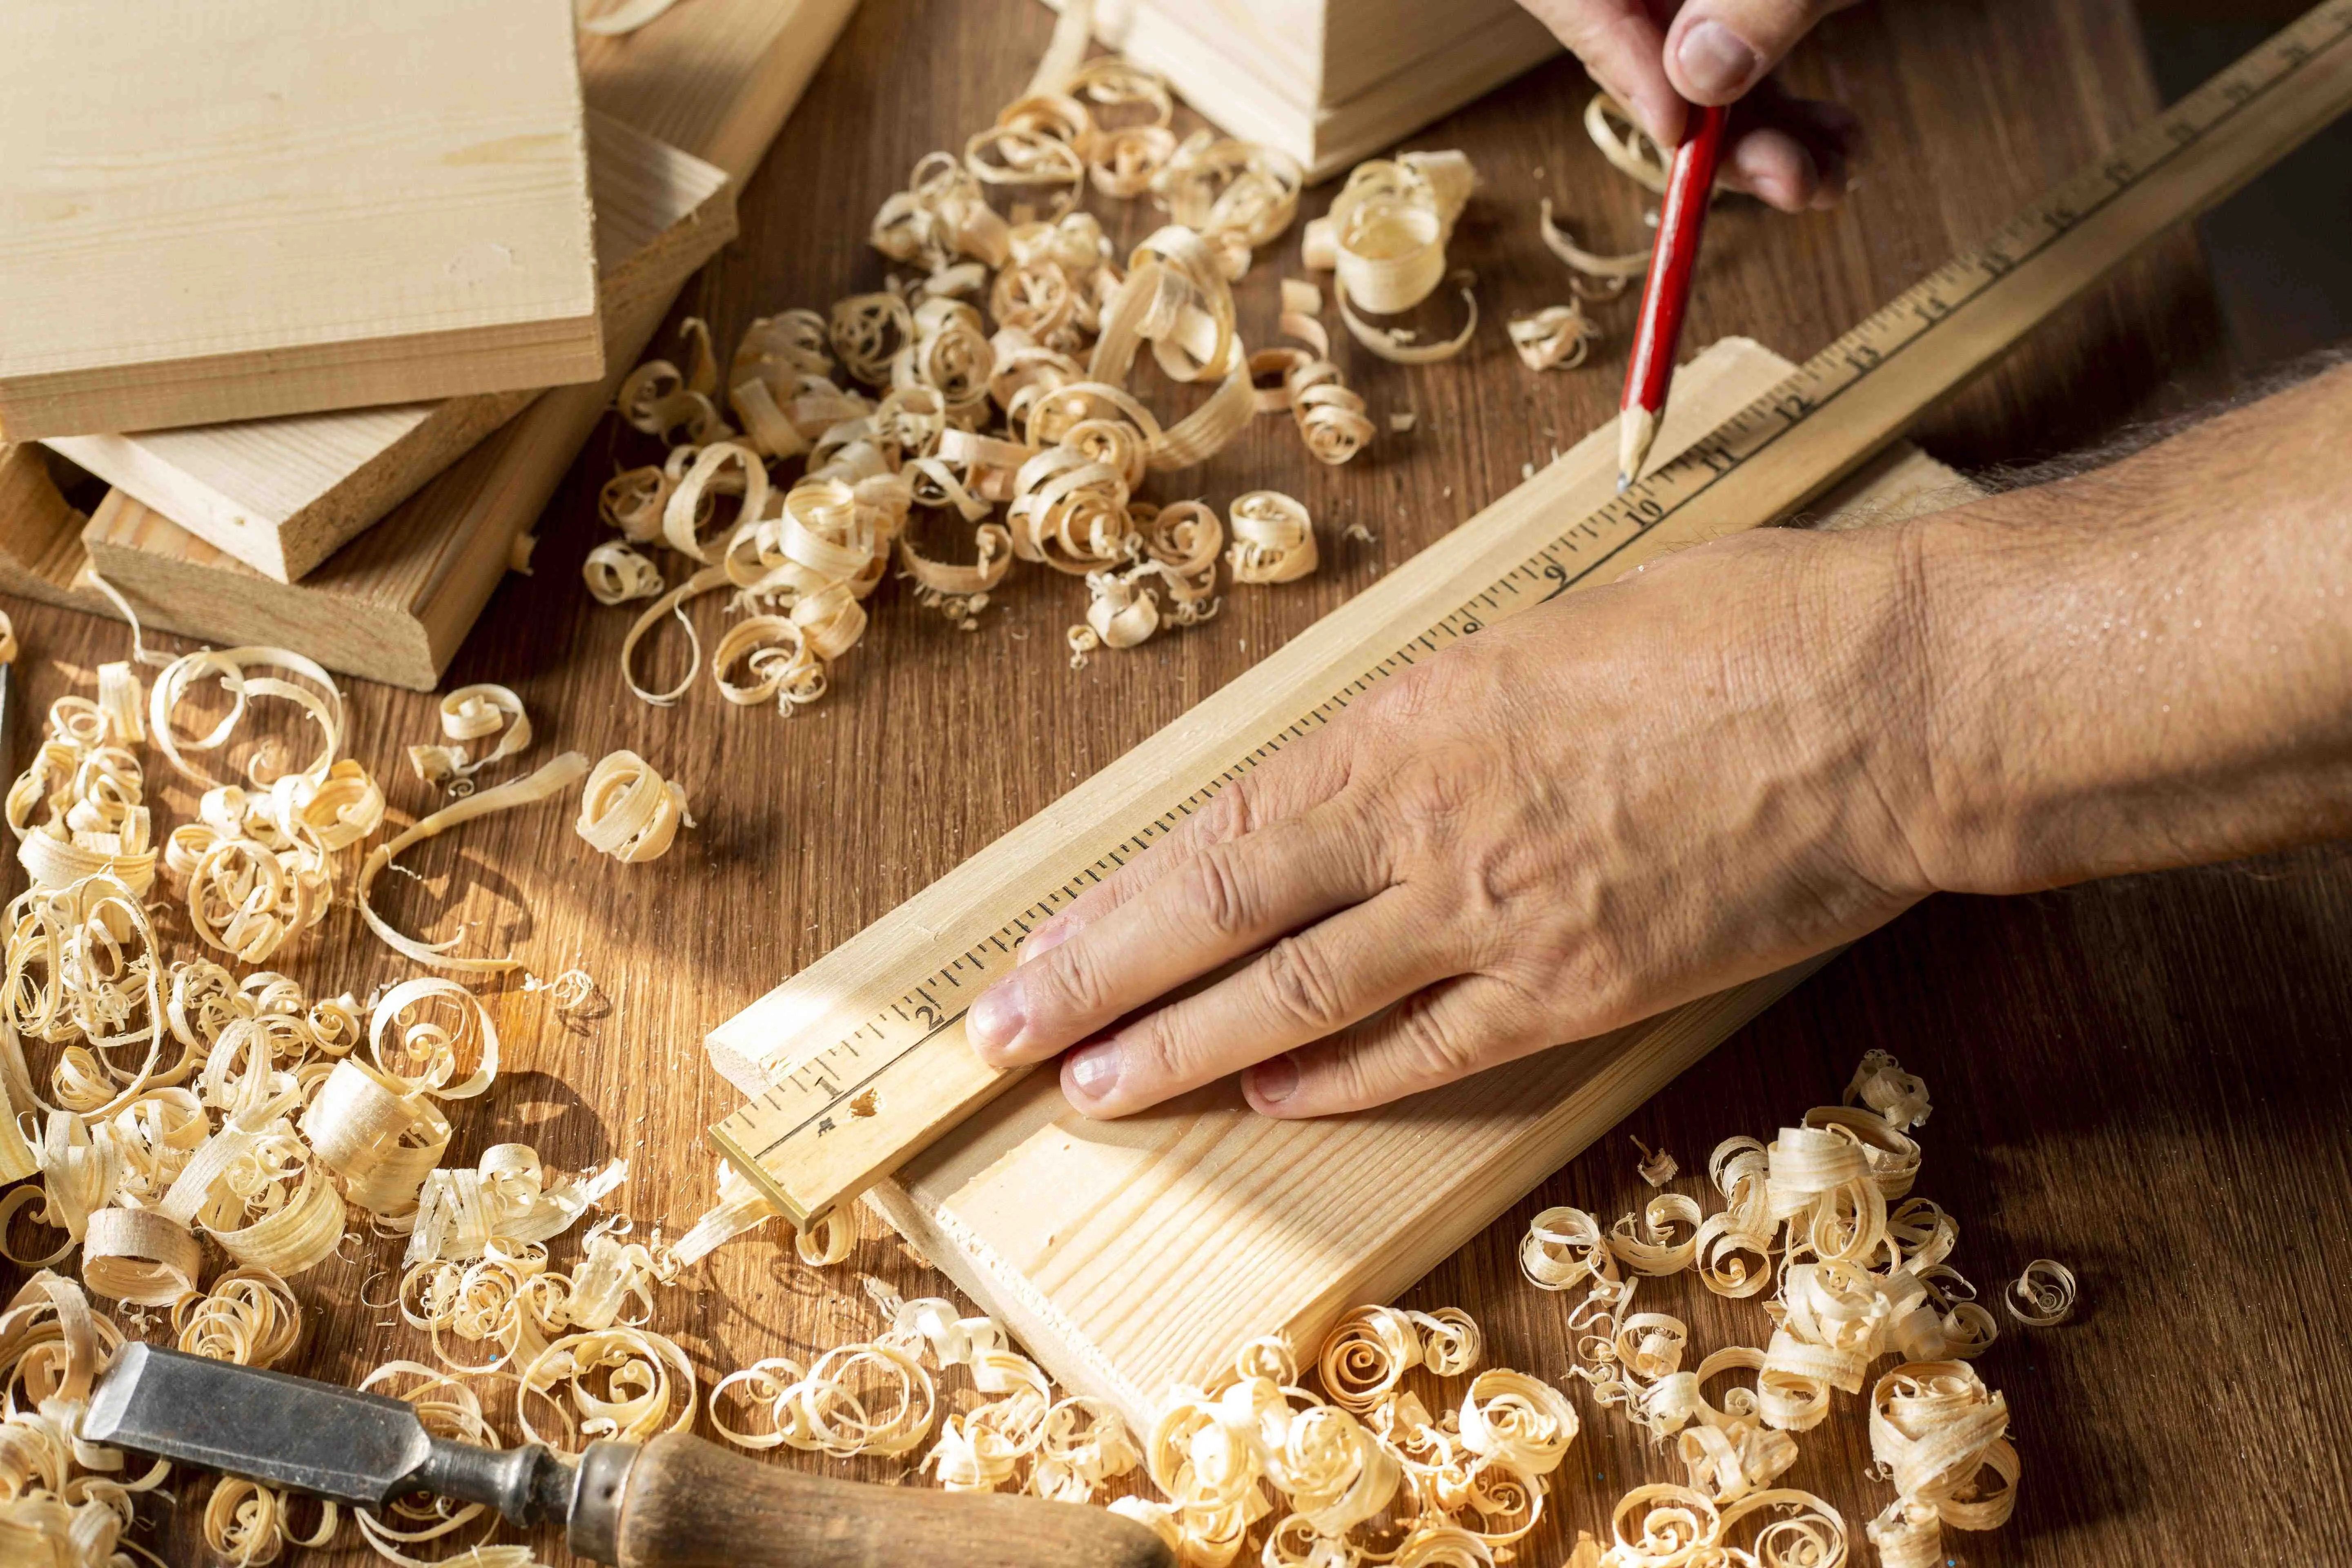
Step 2: Measure the Space
Accurate measurements are the foundation of precision in flooring installation. Start by measuring the length and width of the room, taking note of any irregularities in the shape, such as alcoves or closets. Be sure to account for any space you want to leave for expansion gaps around the perimeter of the room (usually 1/4 inch).
Step 3: Calculate Material Needs
Once you have your measurements, it"s time to calculate the amount of flooring material you"ll need. Most flooring materials are sold by the square foot, so multiply the length and width of the room to find the total square footage. Add 10% to 15% to account for waste, cutting errors, and replacements in the future.
Step 4: Plan Your Layout
Careful planning can help minimize waste and ensure a balanced and aesthetically pleasing layout. Consider the direction of natural light, traffic patterns, and the orientation of the flooring material"s design (e.g., wood grain or tile pattern). Create a layout plan that accounts for these factors.
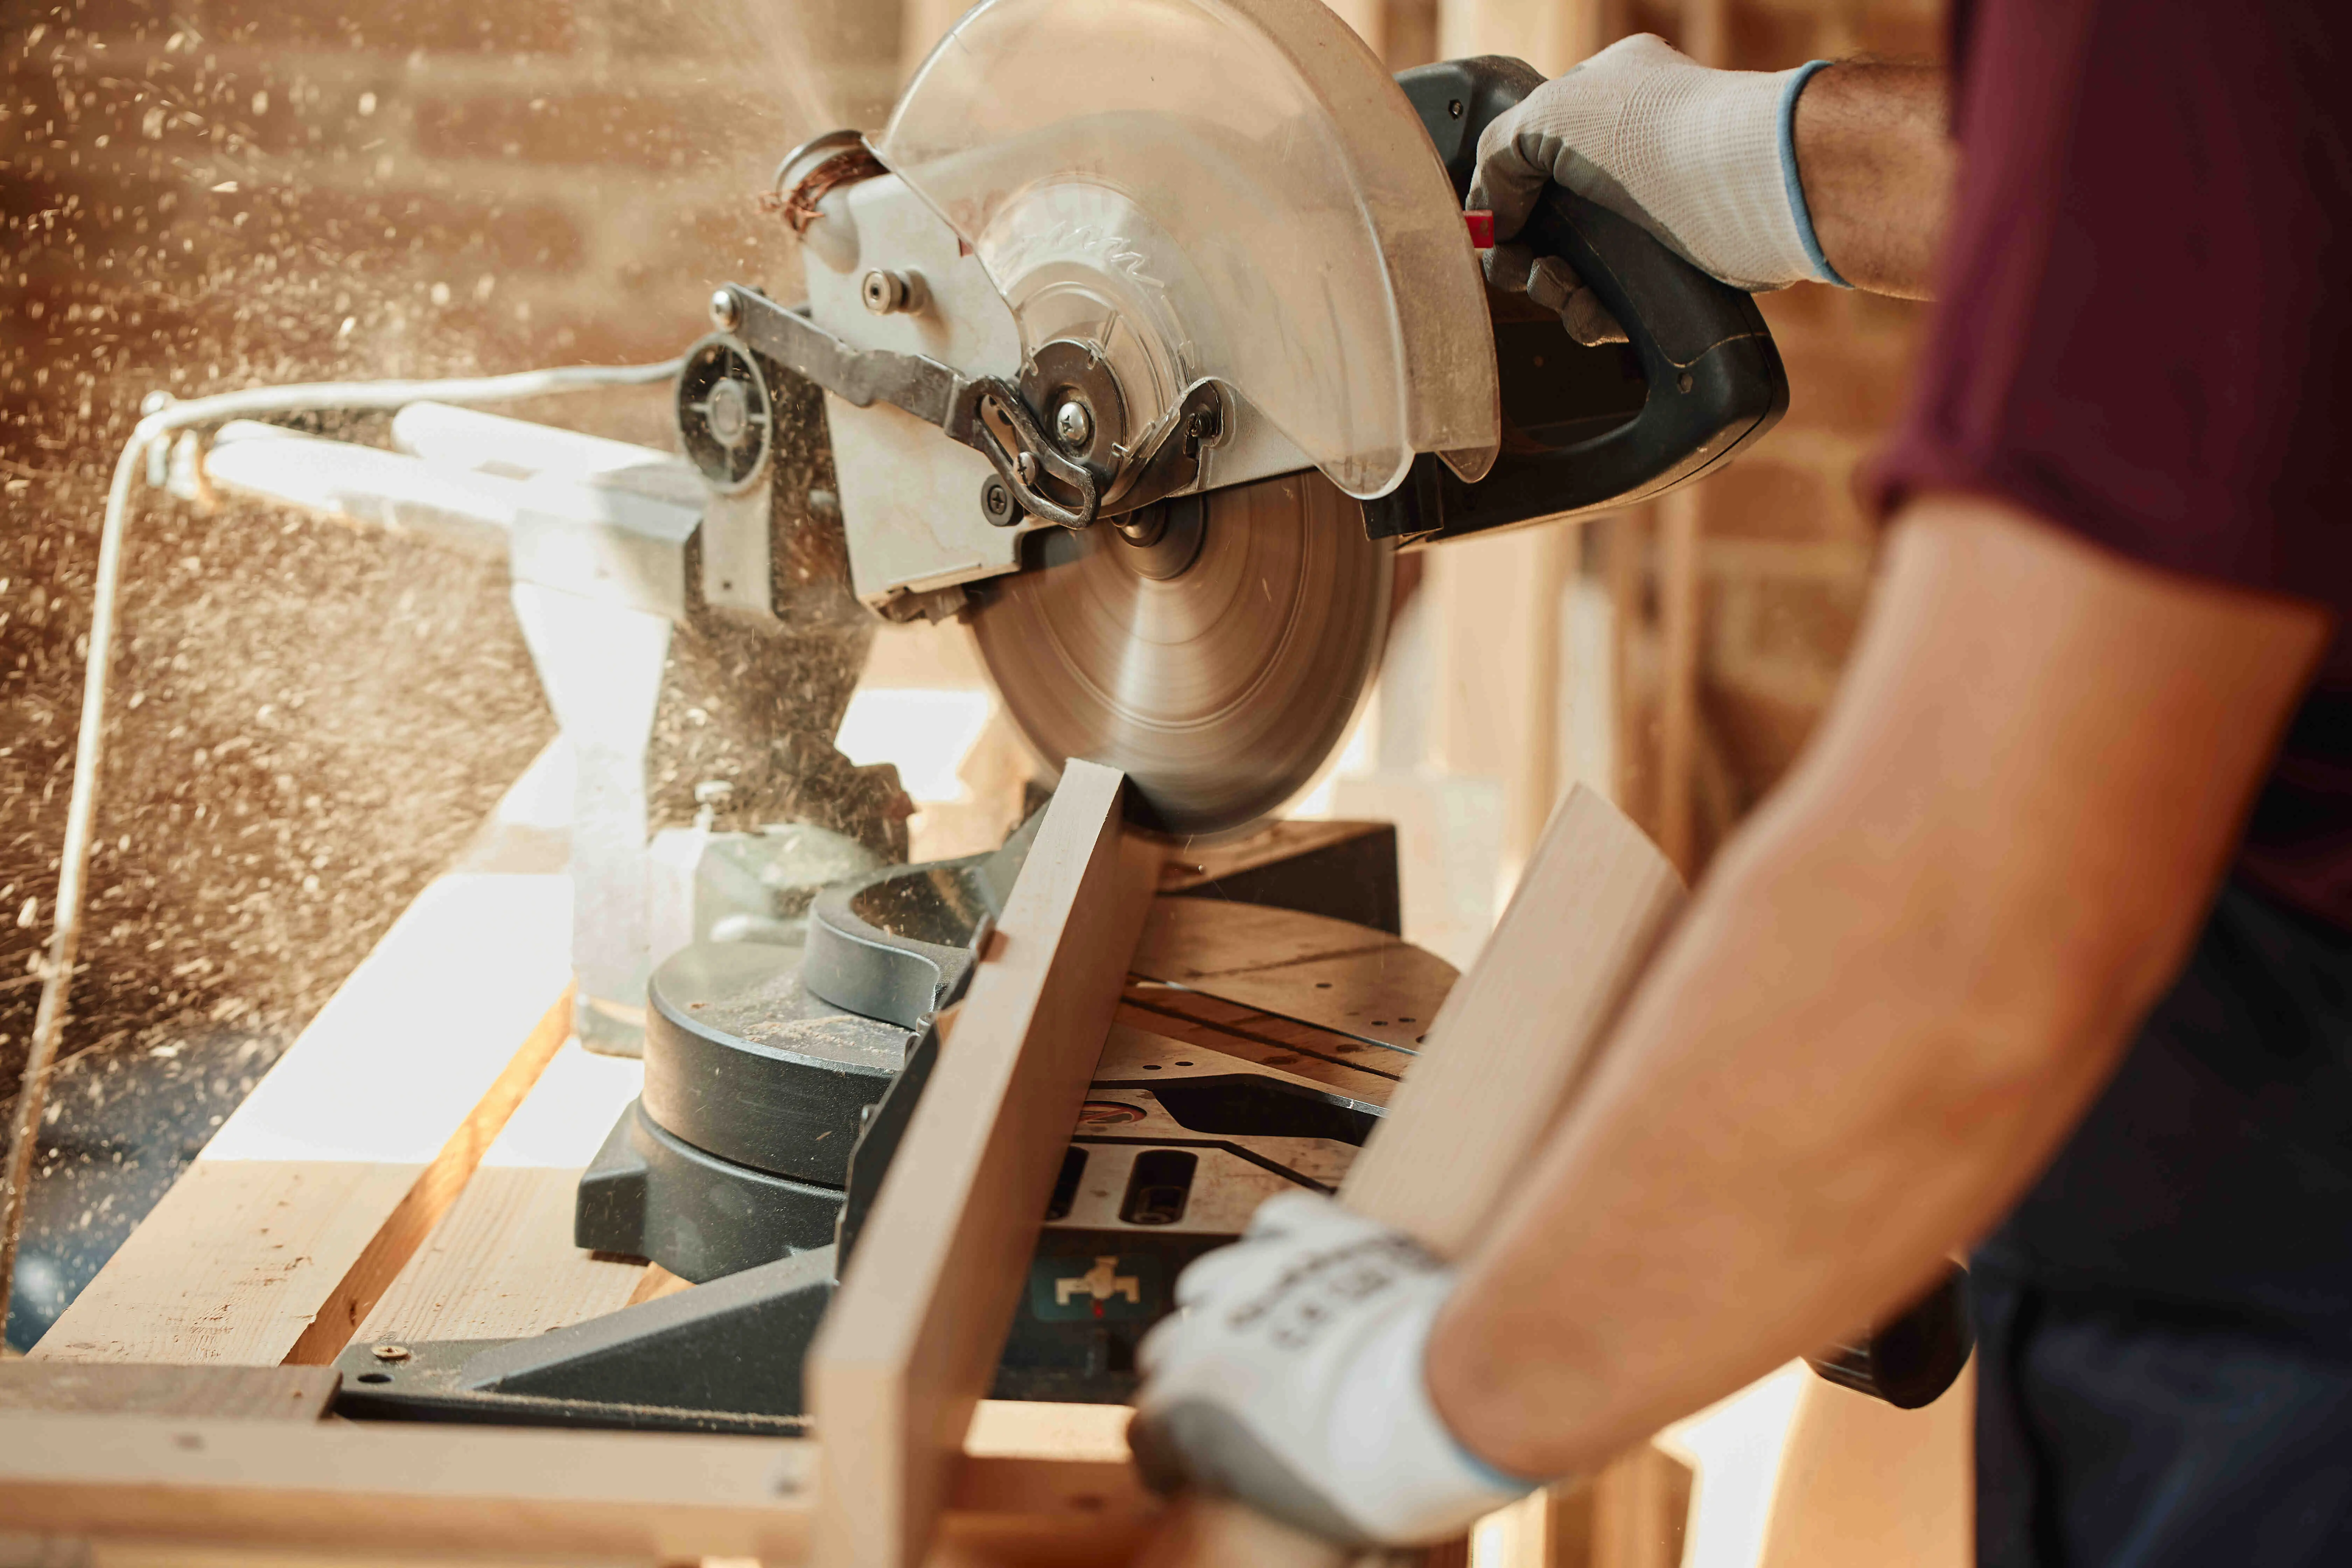
Step 5: Make Precise Cuts
Now comes the moment of truth – cutting your flooring material. The type of material you"re working with will determine the best cutting tool to use. Here are some general tips for making precise cuts:
Follow your layout plan, and measure twice before cutting once.
Use a square to ensure right angles in your cuts.
For straight cuts, use a straightedge as a guide.
For curved cuts or intricate designs, take your time and use the appropriate cutting tool, such as a jigsaw or circular saw.
Step 6: Install with Care
Once you have your precisely cut pieces of flooring material, it"s time to install them. Follow the manufacturer"s instructions for your specific flooring type. Pay attention to details like adhesive application, seam alignment, and proper spacing for expansion gaps.
Step 7: Finishing Touches
After the installation is complete, take the time to inspect your work. Make any necessary adjustments and clean up any excess adhesive or debris. Install baseboards or trim to give your flooring a polished look.
Conclusion
Measuring and cutting flooring material with precision is a skill that can greatly enhance the beauty and durability of your space. With the right tools, careful planning, and attention to detail, you can transform your home into a showcase of craftsmanship. So, whether you"re tackling a DIY project or working with a professional installer, remember that precision is the key to success. By following the steps outlined in this guide, you"ll be well on your way to achieving a stunning and flawlessly finished floor that you can be proud of for years to come.


.webp)