Mastering the Art of Seamless Carpet Installation
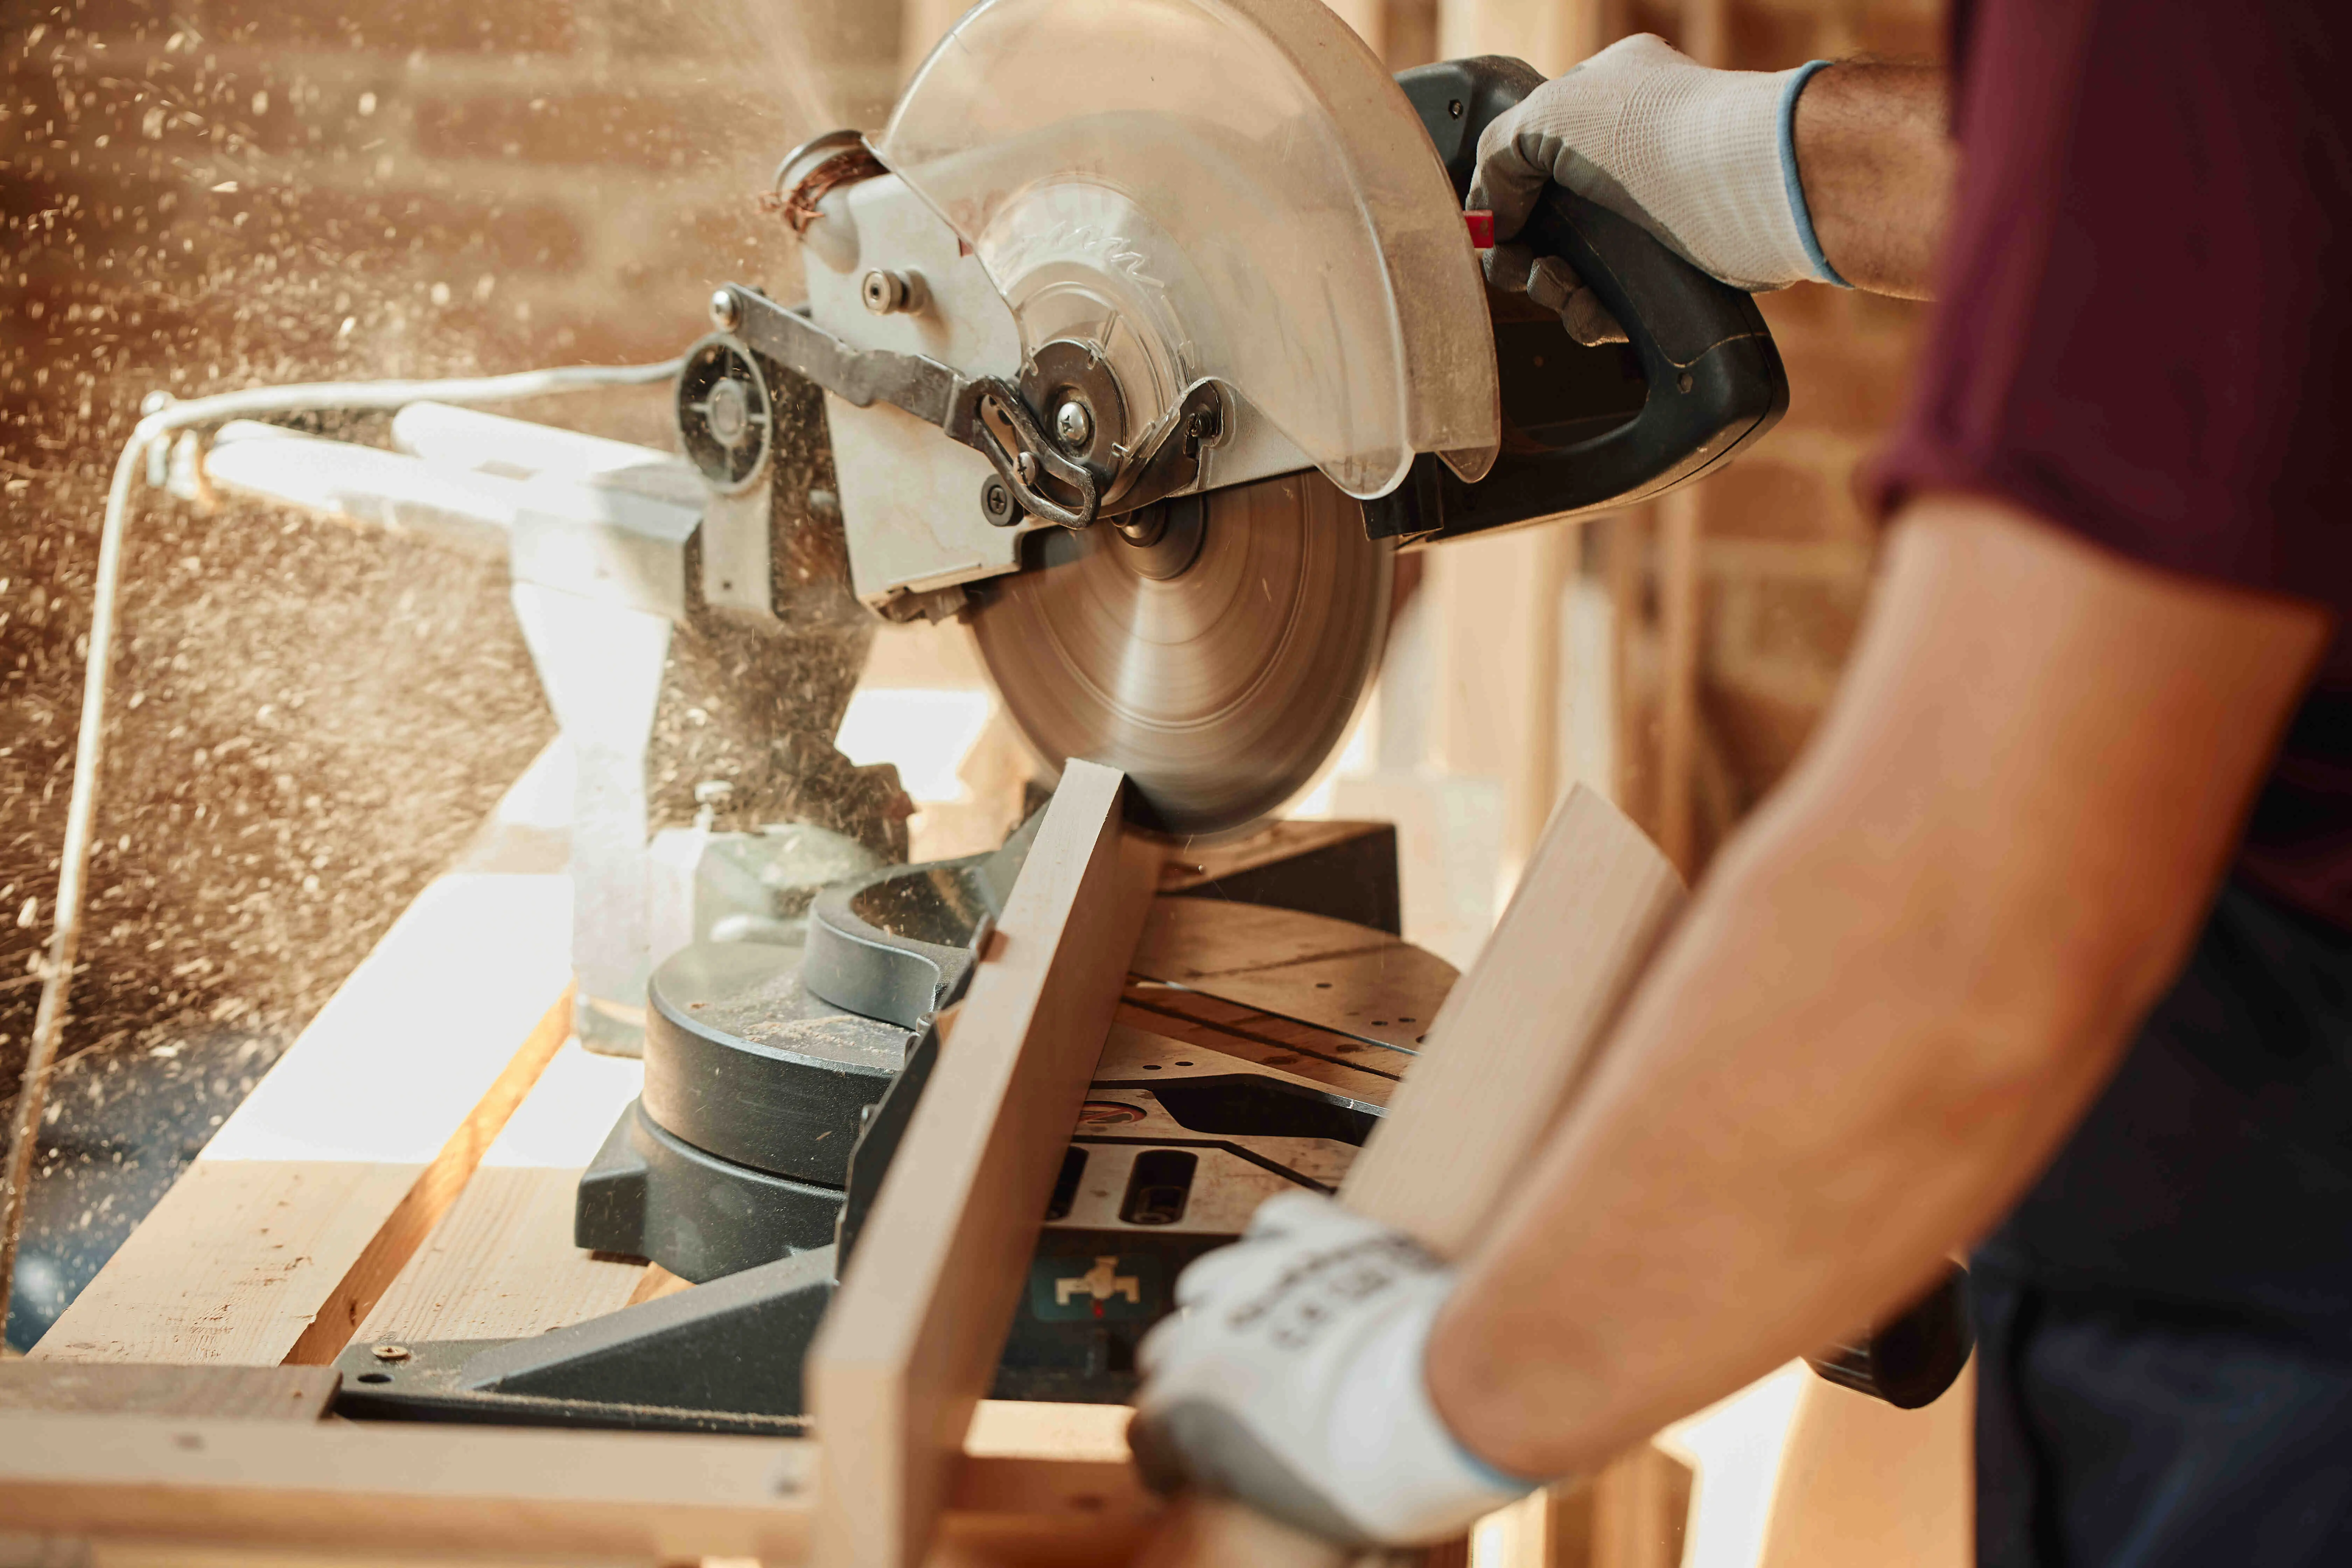
Step 1: Gather Your Tools and Materials
Before you can begin the installation process, ensure you have the necessary tools and materials ready. These typically include:
Carpet rolls: Measure your room to determine the amount of carpet you need, adding extra for seams and trimming.
Carpet padding: Choose the appropriate padding for your carpet type and comfort preference.
Tack strips: These are used to hold the carpet in place along the edges of the room.
Knee kicker: A tool used to stretch the carpet and ensure it"s taut.
Carpet stretcher: For larger rooms, a stretcher is essential to eliminate wrinkles and creases.
Seaming tape and iron: Necessary for joining carpet sections seamlessly.
Utility knife: For trimming excess carpet and padding.
Staple gun: Used to secure the carpet padding.
Chalk line: To mark guidelines for precise cutting and alignment.
Step 2: Prepare the Subfloor
Before installing your carpet, the subfloor must be clean, dry, and free from any debris or imperfections. Make any necessary repairs to the subfloor to ensure a smooth surface. If you"re installing over concrete, use a moisture barrier to prevent moisture from seeping into the carpet.
Step 3: Install the Carpet Padding
Lay the carpet padding over the subfloor, ensuring it"s secure and smooth. Use a staple gun to fasten it along the edges and seams. Trim any excess padding.
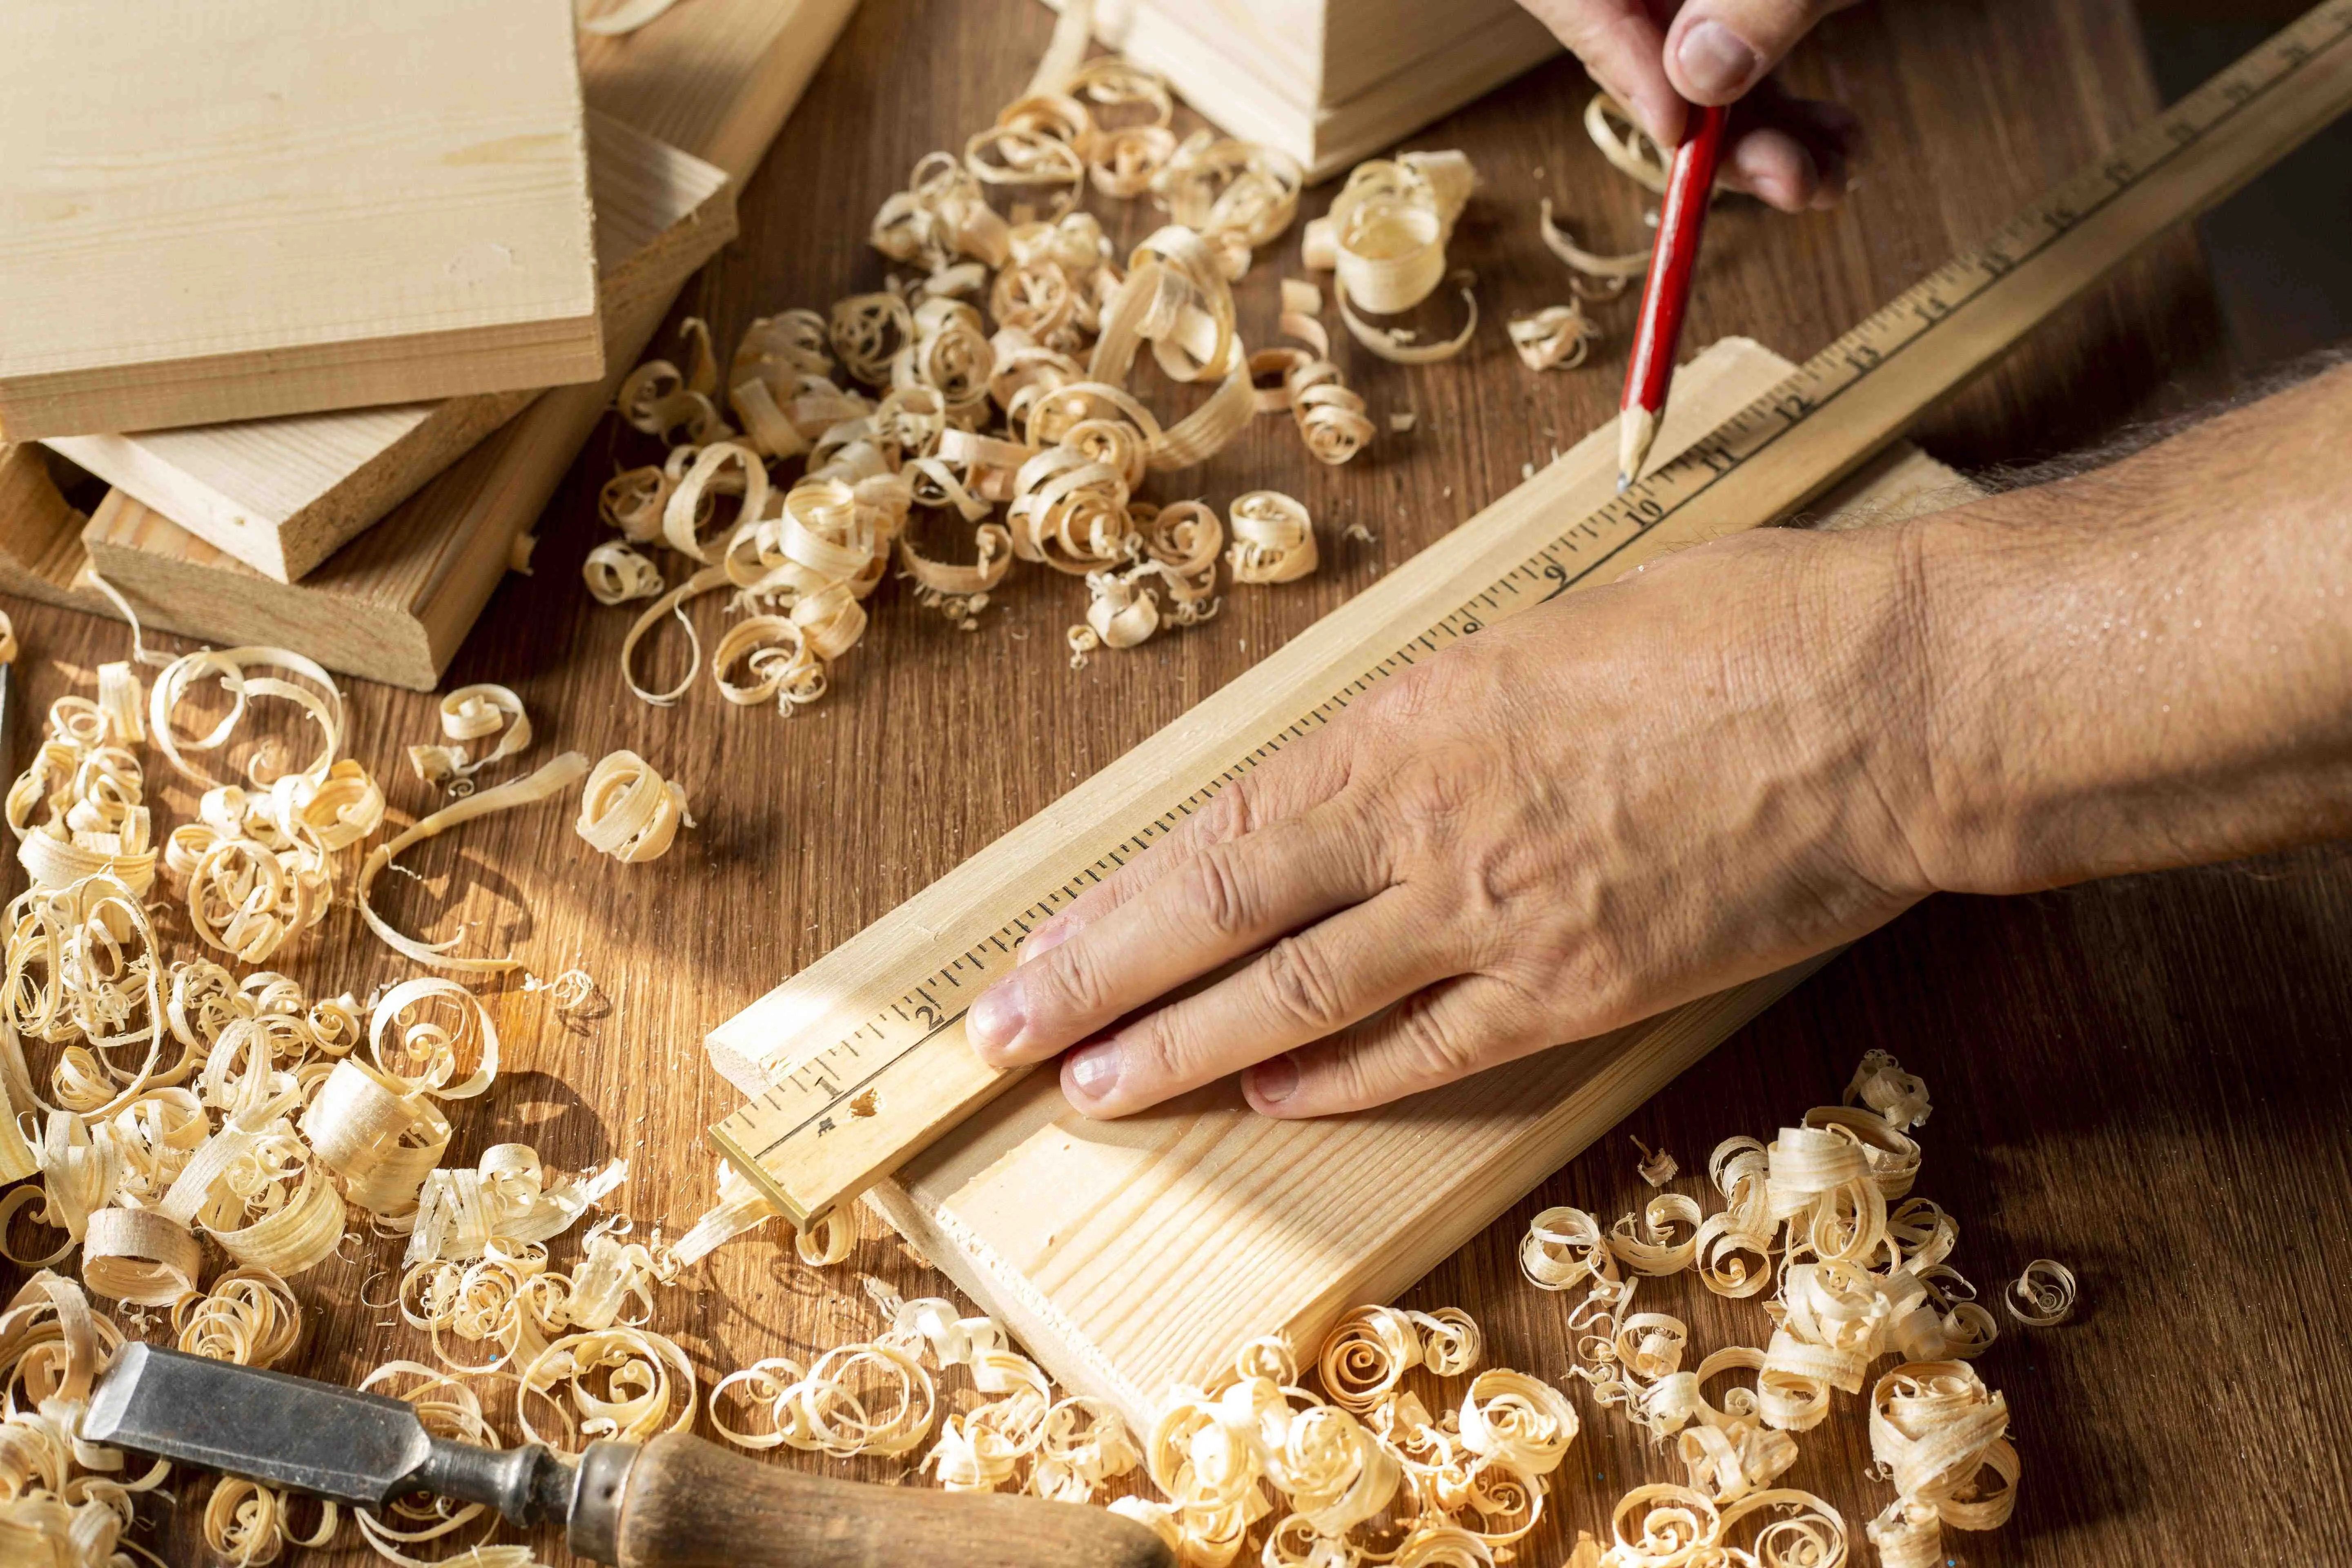
Step 4: Measure and Cut the Carpet
Measure the room carefully, allowing for extra carpet along the walls. Use a chalk line to mark guidelines for cutting. When cutting the carpet, always cut from the backside to ensure clean, precise edges.
Step 5: Seam the Carpet
If your room requires multiple sections of carpet, use seaming tape and an iron to create seamless joins. Carefully follow the manufacturer"s instructions for seaming to ensure a strong and invisible seam.
Step 6: Stretch and Attach the Carpet
Starting in one corner of the room, use a knee kicker and carpet stretcher to stretch the carpet and secure it along the tack strips at the edges. Work your way around the room, stretching and smoothing the carpet as you go.
Step 7: Trim Excess Carpet
Once the carpet is securely in place, use a utility knife to trim any excess carpet along the edges. Be sure to cut carefully to achieve clean lines.
Step 8: Finish with Molding
Install baseboard molding or transition strips to cover the edges of the carpet and create a finished look.
Tips for a Seamless Installation:
· Take your time to measure and cut accurately.
· Use a power stretcher for large rooms.
· Keep the carpet taut but avoid overstretching, which can lead to wrinkles.
· Work in sections, starting from the center of the room and moving outward.
· Check for any visible seams or imperfections before finishing.
Mastering the art of seamless carpet installation takes practice and patience, but the results are well worth the effort. A well-installed carpet not only enhances the aesthetics of your space but also provides comfort and insulation. Whether you"re a DIY enthusiast or hiring a professional, following these steps and tips will help you achieve a flawless carpet installation that you can enjoy for years to come.


.webp)