Mastering the Art of Interlocking Pavers
**Section 1: The Advantages of Interlocking Pavers**
Interlocking pavers have several advantages that make them a popular choice for driveways, walkways, patios, and more:
1. **Durability**: Interlocking pavers are built to withstand heavy loads and harsh weather conditions, ensuring longevity.
2. **Versatility**: They come in various shapes, colors, and textures, allowing for endless design possibilities.
3. **Easy Repairs**: If a paver becomes damaged, it can be replaced individually without affecting the entire surface.
4. **Enhanced Drainage**: The gaps between pavers facilitate efficient water drainage, reducing the risk of puddles and erosion.
5. **Low Maintenance**: With proper installation, interlocking pavers require minimal maintenance to stay in top condition.
**Section 2: Installation Process**
Mastering interlocking pavers begins with a well-executed installation. Here"s a simplified overview of the process:
1. **Site Preparation**: Excavate the area to the required depth, ensuring proper drainage and a stable base.
2. **Base Layer**: Add a layer of crushed stone or aggregate, compacting it thoroughly to create a solid base.
3. **Edge Restraints**: Install edge restraints along the perimeter to keep the pavers in place.
4. **Bedding Sand**: Spread a layer of bedding sand over the compacted base and level it to create a smooth, even surface.
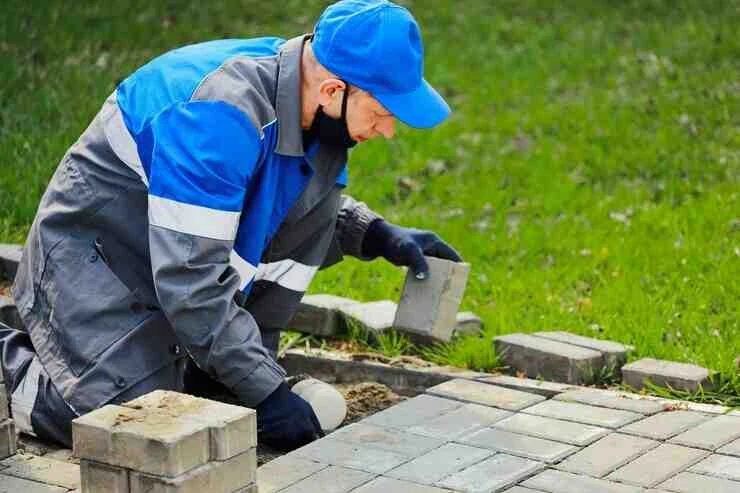
5. **Laying Pavers**: Start laying the interlocking pavers according to your design, ensuring proper spacing and alignment.
6. **Cutting and Trimming**: As needed, cut pavers to fit around corners or edges using a paver saw or chisel.
7. **Compaction**: After all pavers are laid, use a compactor to settle them into the bedding sand and create a stable surface.
8. **Joint Sand**: Sweep joint sand into the gaps between pavers and compact again to secure them in place.
**Section 3: Design Possibilities**
Interlocking pavers offer endless design possibilities for your outdoor space:
1. **Patterns**: Experiment with various laying patterns such as herringbone, basketweave, or running bond for a unique look.
2. **Colors**: Choose pavers in colors that complement your home"s architecture and your landscape.
3. **Borders and Accents**: Add borders or accents using contrasting pavers to highlight specific areas.
4. **Shapes**: Combine different paver shapes like rectangles, squares, and circles to create intricate designs.
5. **Inlays**: Create intricate designs or inlays within the paver surface to add visual interest.
**Section 4: Maintenance Tips**
To ensure your interlocking pavers stay in top condition, follow these maintenance tips:
1. **Regular Cleaning**: Sweep and hose down your pavers regularly to remove debris, dirt, and stains.
2. **Weed Control**: Keep an eye on the joints between pavers and remove any weeds that may sprout.
3. **Sealing**: Depending on your preferences and the type of pavers used, consider sealing them to enhance their appearance and protect against stains.
4. **Repairs**: Address any damaged or sunken pavers promptly to maintain the integrity of the surface.
Conclusion
Mastering the art of interlocking pavers allows you to create stunning outdoor spaces that are not only visually appealing but also functional and durable. Whether you"re enhancing your driveway, patio, or garden path, the versatility and beauty of interlocking pavers make them an excellent choice for any hardscape project. By understanding the installation process, exploring design possibilities, and following proper maintenance practices, you can transform your outdoor space into a work of art that will be enjoyed for years to come.


.webp)